This article will guide you through the two primary ways to set up Digital Door Plates using Joan:
-
Custom Content (via MyJoan): Best for static info or simple status updates.
-
Joan CMS via URL: Best for dynamic, branded, or third-party content.
Creating Digital Door Signage through custom content
- Log in to MyJoan with your admin account
- Navigate to the “Settings” page via the top navigation menu
- Select "Rooms" - > “Custom content” from the left-hand side menu
- A list of all your custom content interfaces will appear. If you do not have added any so far, click the “add custom content” button
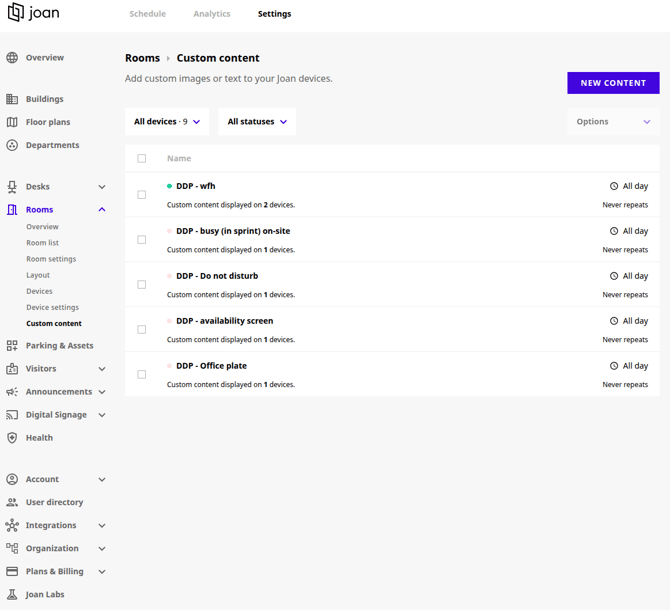
5. Create a new custom content for Digital Door Signage
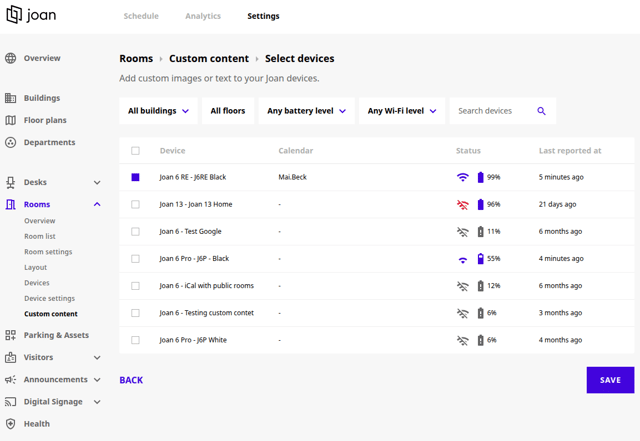
6. Mark the devices, where you want this to be applied and then click on Save
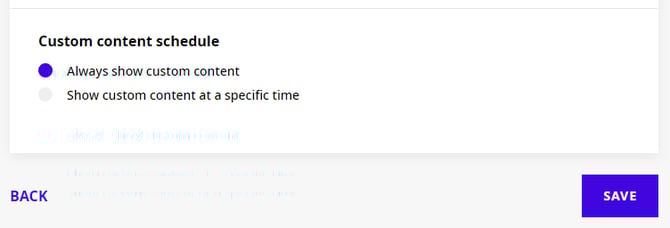
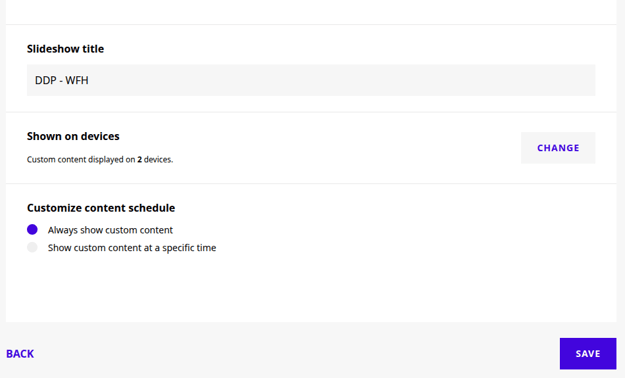
Next, navigate to the “Set custom content schedule” section and click “Change”
- Select either “Always show custom content” or set a specific time for when you wish to display this custom content
- Selecting “Show custom content at a specific time” will allow you to set the start and end date and time and if the content should repeat or be a one-time event
Next, name your custom content interface under “Slideshow title” section
- Enter the name of your new custom content interface
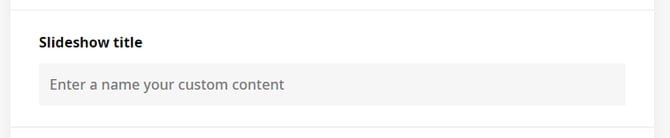
Finally, click “Save” to finish creating your custom content interface
And that’s it! You have successfully created a digital door plate custom content interface.
To learn how to display this interface on your Joan devices, click here.
If you wish to remove the custom content interface from your device, click here to find out how.
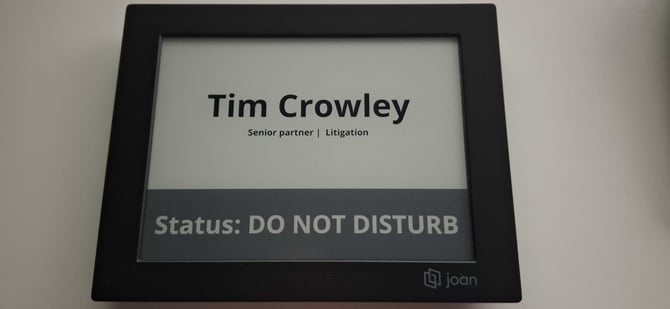
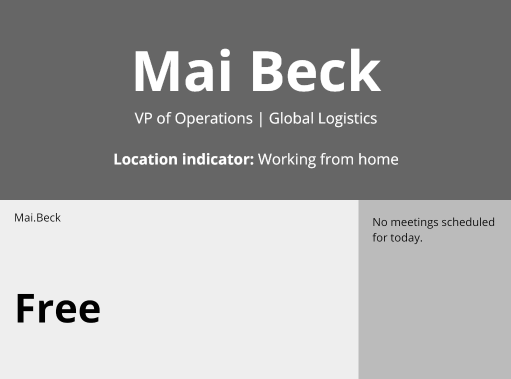
Examples of common usage scenarios:
Creating Digital Door Signage through CMS
- Login to your CMS
- Navigate to Content -> Playlists
- Find your Playlist or create a new one
- Once you've selected your playlist, click on Open playlist, to enter the Editor
- Create a new page and start customizing the content. In the CMS, text, images, shapes, lines, etc. are added via the Editor using widgets
- Once you're done with editing, click on Apply changes and then on the x mark in the top right corner.
- Now click on Publish in the bottom right corner, to publish the playlist
With that, you have successfully created and published a digital door plate custom playlist.
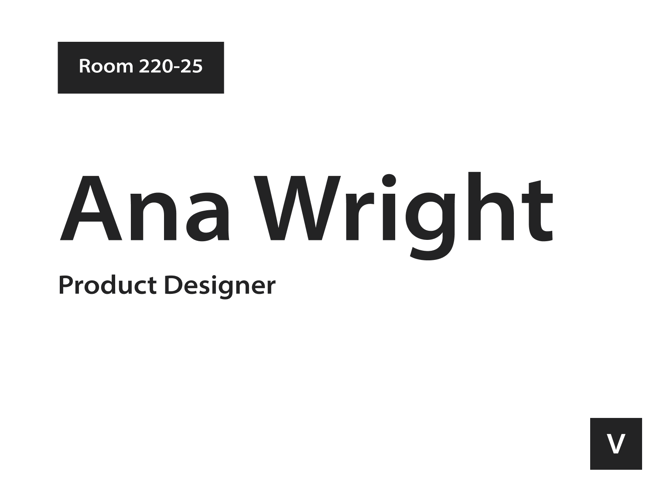
Example of creating a playlist within CMS
Examples of common usage scenarios:

If you encounter any issues, please contact support@getjoan.com.