Requirements
-
The Samsung digital signage display with Tizen OS (Version 7.0)
-
Power cable
-
Ethernet cable (optional if using Wi-Fi)
- USB keyboard (optional – otherwise use the remote control)
Installation
-
Connect the Display
-
Plug in the power cable.
-
Connect the Ethernet cable (skip if using Wi-Fi).
-
Connect USB keyboard (when available, otherwise use the remote control)
-
-
Activate remote control if needed
Please note the remote only works for 10 minutes after a reboot. To activate:
a. Unplug the power cable.
b. Wait 30 seconds.
c. Reconnect the power cable.
-
Initial Setup
Power on the display. Steps may vary slightly depending on your model.
-
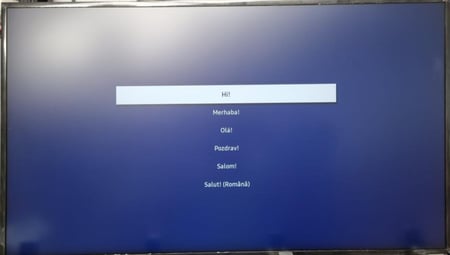
Welcome Wizard – Select your language.
-
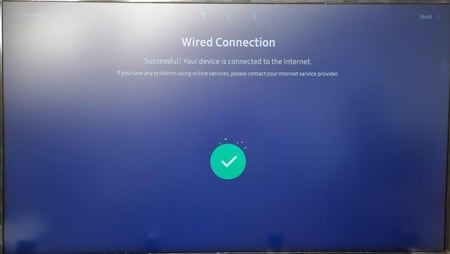
Network Settings – Connect to the internet. Setup continues once connected.
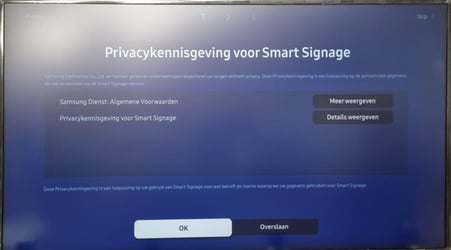
- Privacy – Choose your preferences.
-
Installation Type – Select Manual Setup.

-
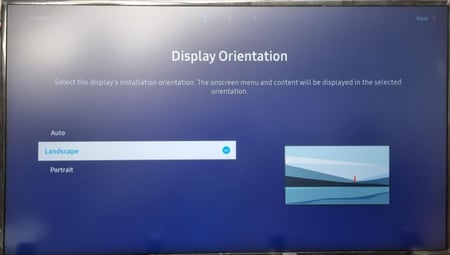
Rotation – Select Landscape.
-
Player Selection – Choose Custom App.

-
Enter:
https://s.centoview.com/5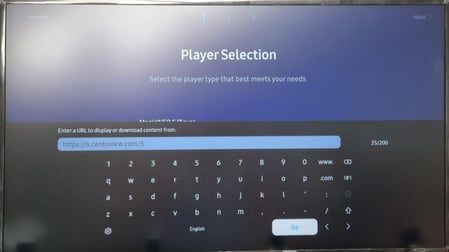
-
-
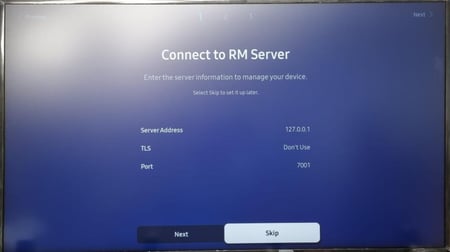
RM Server – Skip this step.
-
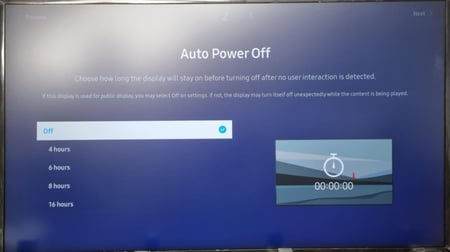
Auto Power Off – Select Off.
-
Date & Time – Set correct values.

-
PIN – Skip to keep default
000000or set a custom one. -
Complete – Select Custom App from the home menu to start CentoDisplay.

-
-
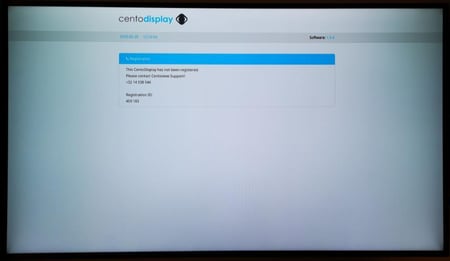
Register to CMS
-
About one minute after the first boot, the registration screen will appear.
-
Reach out to support@getjoan.com with your registration code (PIN) included.
-
Once registered, the display downloads content.
-
⚠️ Important: Do not power off the screen during registration.
Firmware Upgrade
After registration, the display may automatically start a firmware update.
⚠️ Important: Do not power off the screen during the firmware upgrade.
Once the update finishes, your display will begin showing scheduled content.
If no content is scheduled, the screen will automatically power off.
If the screen remains black, wait up to 15 minutes, then try rebooting the display.
If the display is still unresponsive, please contact support.
Final Setup
Note: To proceed, turn on the screen by pressing the info button on your remote. Once the display is active, you can continue with the next steps.
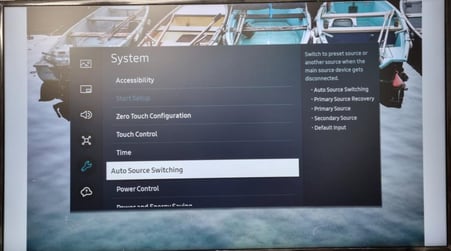
Automatic Recovery
Enable automatic recovery to ensure the software restarts automatically if a crash occurs. This is achieved by using the Auto Source Switching feature.
Using the remote control:
-
Press the Menu button.
-
Navigate to System.
-
Select Auto Source Switching.
-
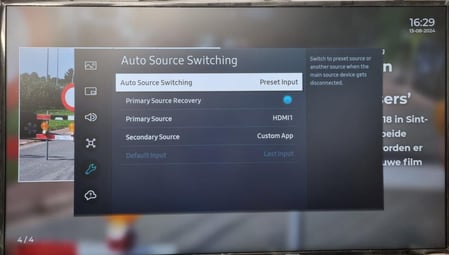
Set Auto Source Switching to On (or Preset Input if On is not available).
-
Enable Primary Source Recovery.
-
Set Primary Source to HDMI1.
-
Set Secondary Source to Custom App.
-
Auto Power On
To ensure your display automatically powers on after a power outage:
1. Press the Menu button on your remote.
2. Navigate to System > Power Control.
3. Set Auto Power On to On.
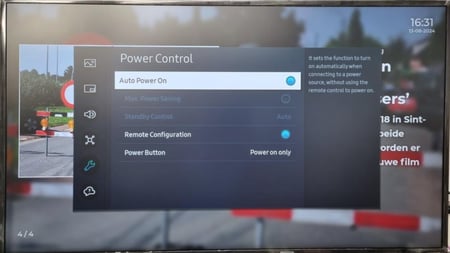
Remote Configuration
To enable remote configuration, allowing you to connect to the screen even when it’s in standby mode:
1. Press the Menu button on the remote control.
2. Navigate to System.
3. Select Power Control.
4. Enable Remote Configuration.