Aside from connecting to your Wi-Fi network, each Joan device needs to connect to a Visionect Software Suite (VSS) server to operate and interact with your calendar. The VSS is hosted in the cloud server.
Cloud server
At the moment, the VSS servers are available in the following locations worldwide:
- Brussels, Belgium (Europe) x2
- Oregon, United States of America (West US)
- South Carolina, United States of America (East US) x2
- Hong Kong (Asia)
By default, the nearest server to you will be chosen. However, you may select a different location of the server, but this might result in some decrease in performance.
You can change the selected server by following these steps:
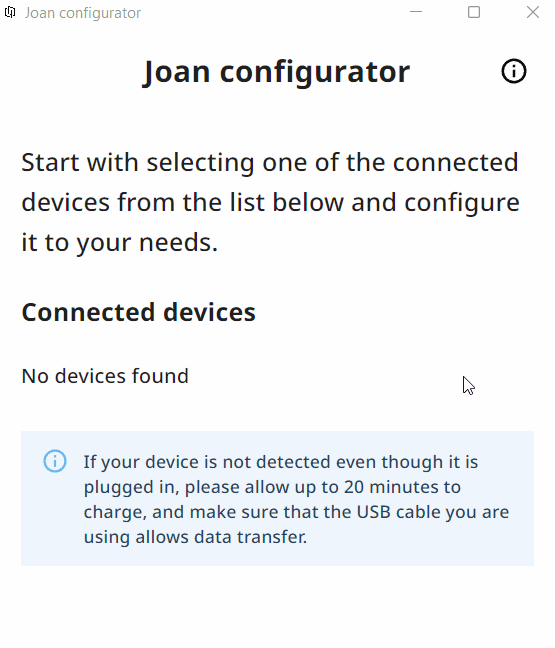
- Run the Joan Configurator
- Connect the Joan device to your PC with the provided Micro USB or USB-C cable
- Select your device
- Find your network and input the password for it
- Expand the Advanced connectivity section
- Click on Cloud servers button and select wanted region of the server
- Click Apply
And that’s it!
If you would like to configure your device via the mobile Joan Configurator, please check the instructions here.
If you encounter any issues, please contact support@getjoan.com.