How to configure the Smart Magnet for Joan 6 Pro
The first configuration of the Smart Magnet (connecting it with a room)
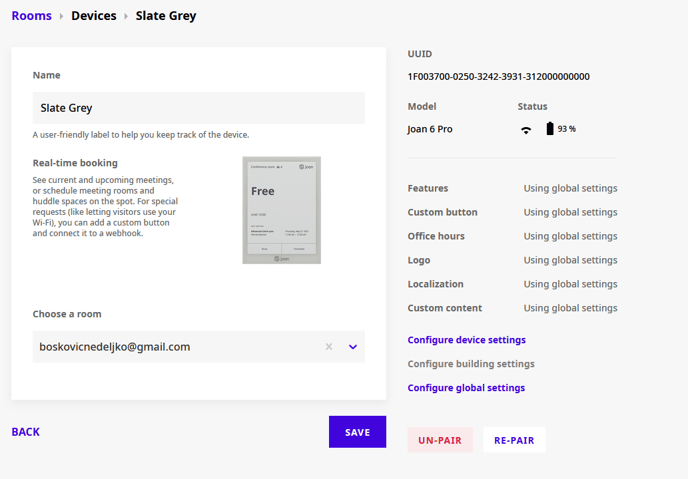
- Pair the Joan 6 Pro device with MyJoan
- Select the room resource you wish to configure to the Smart Magnet


3. Place the Joan 6 Pro device on the Smart Magnet and that’s it! The smart magnet is now paired to the room resource.
Configuring a new device with the Smart Magnet
-
Pair the Joan 6 Pro device with MyJoan
-
Press “Save” (No need to select the room, as it will later be fetched from the Smart Magnet)
-
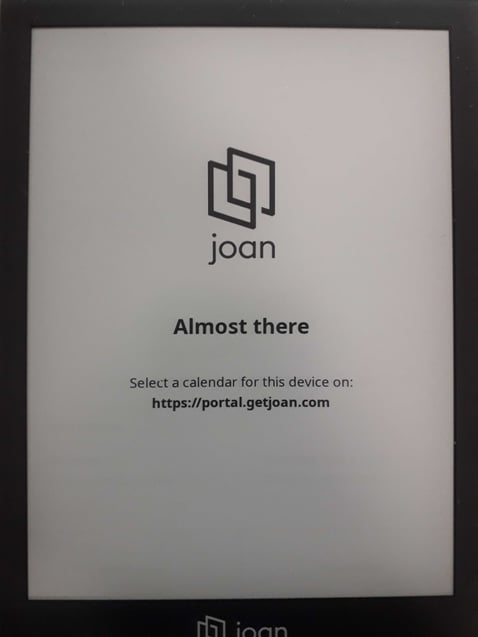
IMPORTANT: Wait until the following screen appears on the device:


-
Place the device on the Smart Magnet and wait until it fetches room information
-
That’s it! The new device is now paired to the room
Please note: If you place device A on magnet A, it will display information for room A. If you place device B on magnet A, it will also connect with room A. You will need to connect device B to room B automatically via MyJoan after you remove it from magnet A. If you run into any issues, please contact us at support@getjoan.com
Configuring an existing device with the Smart Magnet
-
Place the Joan 6 Pro device on the Smart Magnet and wait for it to fetch the room information.
-
Voila! The Joan device should now be showing the default room that is assigned to that Smart Magnet
Change the room that is assigned to the Smart Magnet
-
Place the Joan 6 Pro device (that has the desired room assigned to it) on the Smart Magnet that you want to reconfigure.
-
Wait for the device to fetch the room information from the Smart Magnet.
-
Visit your MyJoan and navigate to Settings -> Rooms -> Devices
-
Select the device that is on the Smart Magnet and select the room you want to assign to the Smart Magnet. Don't forget to save the configuration.
- Wait for the Smart Magnet to save the new configuration and load it up on the device.
- You've successfully reconfigured the default room assigned to the Smart Magnet.
