By way of a reservation system, employees can book company resources on a when-needed basis. This setup ensures employees are never stuck waiting and hoping for a resource to become available. With an asset tracking system showing who handled each asset on any given day, employees are more likely to remember to care for and return company property.
How to create an asset type?
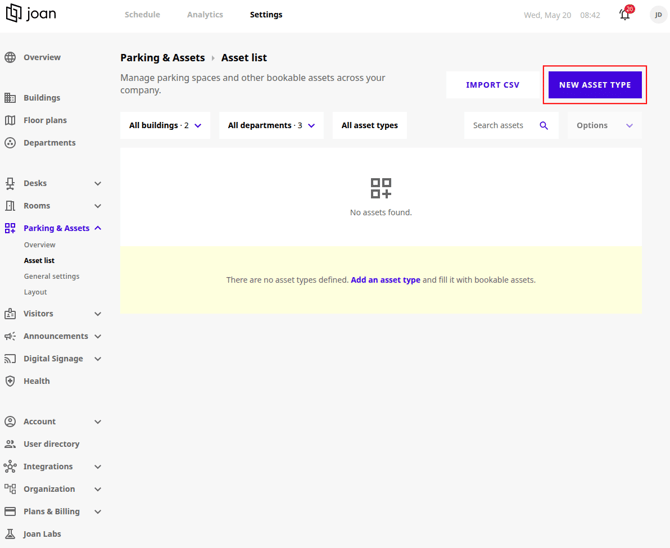
In order to create new assets, you will first need to create a New asset type.
1. Log in to MyJoan, and navigate to Settings -> Parking & Assets -> Asset list
2. Click on New asset type
3. You will be prompted to name your asset type and select an icon for it- if you do not select a building and an icon, you won't be able to complete the setup process
4. Click Create.

How to create an asset and assign it to a department or employee?
After creating an asset type, you are able to create and add new assets.
1. Click on the Add asset button, next to the newly-created asset type
2. Name the asset, add a description, and assign it to a department or to an employee
3. Click Create.
Note* For the department restriction to take effect, ensure that Enable departmental booking rules is toggled on under Parking & Assets→ General settings. (Please note: This settings page is shared globally with Desks, so enabling it here applies to both workspaces and assets simultaneously).

Parking & Asset General Settings
To configure advanced rules like check-ins, advance booking limits, or department restrictions for your assets, navigate to Parking & Assets -> General settings.
Note* this page is completely shared with Desk Booking. Any changes or configurations made here will apply to both desks and assets simultaneously.
For a complete step-by-step breakdown of how these toggles work (such as setting up local QR code check-ins, email notifications, or booking time-frames), please check out our detailed guide: Desk Booking - Check-in options.
How to add assets to a floor plan
Note* Mapping your assets onto the floor plan is completely optional. If you choose not to place them on the map, employees can still easily search, view, and reserve them. Placing them on the floor plan simply gives your team the additional option to visually select and book them directly from the floor plan.
1. Log in to MyJoan, and navigate to Parking & Assets -> Layout
2. Select the building and the floor to load your floor plan.
3. Click anywhere on the floor plan where you wish to position the asset.
4. A window will appear prompting you to select the asset type and the specific asset you want to place from your list.
5. Click Save.
The newly placed assets will now appear on your floor plan.
How to edit or delete an asset?
Edit an asset:
1. Log in to MyJoan, and navigate to Settings -> Parking & Assets -> Asset list
2. Select the asset you want to edit, and change the details
3. Click Save.
Delete an asset:
1. Log in to MyJoan, and navigate to Settings -> Parking & Assets -> Asset list
2. Select the asset you wish to delete
3. Click Delete
3. A pop-up window will show at the top of the screen, click ok.
How to delete an asset type?
1. Log in to MyJoan, and navigate to Settings -> Parking & Assets -> Asset list
2. Click on the Edit button, next to the asset type name
3. Type in the Name of the asset type - please note, that it is case-sensitive
4. Click Delete.
After setting up your assets, it's time to start booking them! This knowledge base article will help you get started with booking assets in the web portal and the mobile application.
In case you need any additional assistance, please reach out to support@getjoan.com.